

Introduction
Let’s see how to secure Nginx with Let’s Encrypt on Ubuntu 14.04+.
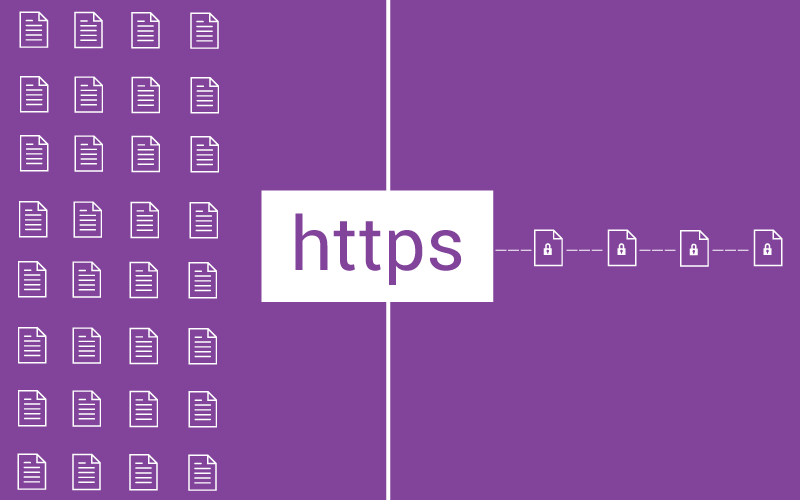
Let’s Encrypt is a new Certificate Authority (CA) that provides an easy way to obtain and install free TLS/SSL certificates, thereby enabling encrypted HTTPS on web servers.
Step 1 - Install Let’s Encrypt Client
Install the certbot-auto software on your server.
cd /usr/local/sbin
sudo wget https://dl.eff.org/certbot-auto
Make it executable by typing:
sudo chmod a+x /usr/local/sbin/certbot-auto
Certbot client is now ready for use.
Step 2 - Obtain Certificate
We’ll see how to use the Webroot plugin to obtain an SSL certificate. The Webroot plugin works by placing a special file in the /.well-known directory within your document root, which can be opened (through your web server) by the Let's Encrypt client for validation. Depending on your configuration, you may need to explicitly allow access to the /.well-known directory.
To ensure that the directory is accessible to certbot-auto for validation, let's make a quick change to our Nginx configuration.
By default it’s located at /etc/nginx/sites-available/default
sudo vi /etc/nginx/sites-available/default
Inside the server block, add this location block:
server {
  . . .

  location ~ /.well-known {
    allow all;
  }

  . . .
}
Save and exit.
Check the configuration file for syntax errors:
sudo nginx -t
If all is well, restart Nginx with this command:
sudo service nginx restart
Now we can use the Webroot plugin to request an SSL certificate with these commands.
sudo certbot-auto certonly -a webroot --webroot-path=/usr/share/nginx/html -d example.com -d www.example.com
(replace example.com with your domain name, duh!)
If you are using certbot for the first time you will be prompted for some information.
Initial prompt would be to enter your email address, then you must agree to the Let’s Encrypt Subscribe Agreement.(Select Agree)
If everything was successful, you should see an output message that looks something like this:
IMPORTANT NOTES:
 - If you lose your account credentials, you can recover through
   e-mails sent to sammy@digitalocean.com
 - Congratulations! Your certificate and chain have been saved at
   /etc/letsencrypt/live/example.com/fullchain.pem. Your
   cert will expire on 2016-03-15. To obtain a new version of the
   certificate in the future, simply run Let's Encrypt again.
 - Your account credentials have been saved in your Let's Encrypt
   configuration directory at /etc/letsencrypt. You should make a
   secure backup of this folder now. This configuration directory will
   also contain certificates and private keys obtained by Let's
   Encrypt so making regular backups of this folder is ideal.
 - If like Let's Encrypt, please consider supporting our work by:
   Donating to ISRG / Let's Encrypt:   https://letsencrypt.org/donate
   Donating to EFF:                    https://eff.org/donate-le
Firewall Note: If you receive an error like "Failed to connect to host" for DVSNI challenge, your server's firewall may need to be configured to allow TCP traffic on port 80 and 443.
Note: If your domain is routing through a DNS service like CloudFlare, you will need to temporarily disable it until you have obtained the certificate.
Step 3 - Configure TLS/SSL on Web Server (Nginx)
Now we need to configure Nginx web server to use the SSL Certificate.
sudo nano /etc/nginx/sites-available/default
Comment out the below lines:
listen 80 default_server;
listen [::]:80 default_server ipv6only=on;
Now let’s configure this server block to listen on port 443 with SSL enabled instead.
listen 443 ssl;
server_name example.com www.example.com;
ssl_certificate /etc/letsencrypt/live/example.com/fullchain.pem;
ssl_certificate_key /etc/letsencrypt/live/example.com/privkey.pem;
(again, example.com with your domain name)
Lastly, outside of the original server block (that is listening on HTTPS, port 443), add this server block to redirect HTTP (port 80) to HTTPS. Be sure to replace example.com with your own domain name.
server {
  listen 80;
  server_name example.com www.example.com;
  return 301 https://$host$request_uri;
}
Save and exit.
Check the configuration file for syntax errors:
sudo nginx -t
If all is well, restart Nginx with this command:
sudo service nginx restart
The Let’s Encrypt TLS/SSL certificate is now in place. At this point, you should test that the TLS/SSL certificate works by visiting your domain via HTTPS in a web browser.
Step 4 - Set Up Auto Renewal
Let’s Encrypt certificates are valid for 90 days, but it’s recommended that you renew the certificates every 60 days to allow a margin of error.
To trigger the renewal process for all installed domains, run this command:
certbot-auto renew
It will only work if your certificate has expired else it would show — ** No renewals were attempted**
A practical way to ensure your certificates won’t get outdated is to create a cron job that will periodically execute the automatic renewal command for you.
The renewal first checks for the expiration date and only executes the renewal if the certificate is less than 30 days away from expiration, hence it is safe to create a cron job that runs every week or even every day, for instance.
Let’s edit the crontab to create a new job that will run the renewal command every week. To edit the crontab for the root user, run:
sudo crontab -e
Add these lines:
#crontab entry
30 2 * * 1 /usr/local/sbin/certbot-auto renew >> /var/log/le-renew.log
35 2 * * 1 /etc/init.d/nginx reload
Save and exit.
This will create a new cron job that will execute the certbot-auto renew command every Monday at 2:30 am, and reload Nginx at 2:35am (so the renewed certificate will be used).
The output produced by the command will be piped to a log file located at /var/log/le-renewal.log.
That’s it! Your web server is now using a free Let’s Encrypt TLS/SSL certificate to securely serve HTTPS content.
Hope this helps for developers who are new in using Digital Ocean/ Amazon Servers and want to use free Let’s Encrypt TLS/SSL certificate.
That’s the end of this blog! Thanks for reading! If you like it, please hit 👍🏻❤️

Hi! I am Ashwin, an Software Engineer and Consultant based out of Bengaluru, India.
